


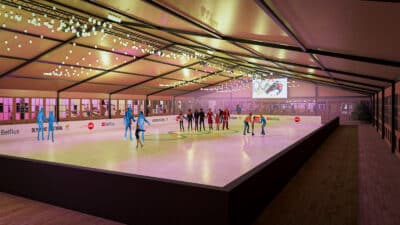
Building an ice rink
Our pursuit of quality doesn’t automatically come at a cost to efficiency. And one important factor in efficiency is the time it takes to build an ice rink. After all, the faster the ice rink can be built, the more profit it will generate.
Ice-World boasts the very cool ability to build a mobile ice rink within 24 hours. Compared to other mobile ice rinks, 24 hours is extremely short: most require about 3 to 5 days to build.
How do we achieve such a fast build time of 24 hours? We are happy to explain this to you using the step-by-step plan below.
Step 1: Find a good build surface
An Ice-World mobile ice rink can be built right on the surface where the rink is required. There’s just one proviso – the surface must be completely flat. A hard, flat surface, like the asphalt of a car park or the concrete of a tennis court, is ideal.
If the surface is not perfectly level, we will install the ice rink on a wooden floor construction to ensure that the surface is completely flat. There is actually an additional advantage to this wooden floor construction: it has an insulating effect, making the ice rink noticeably more energy-efficient.
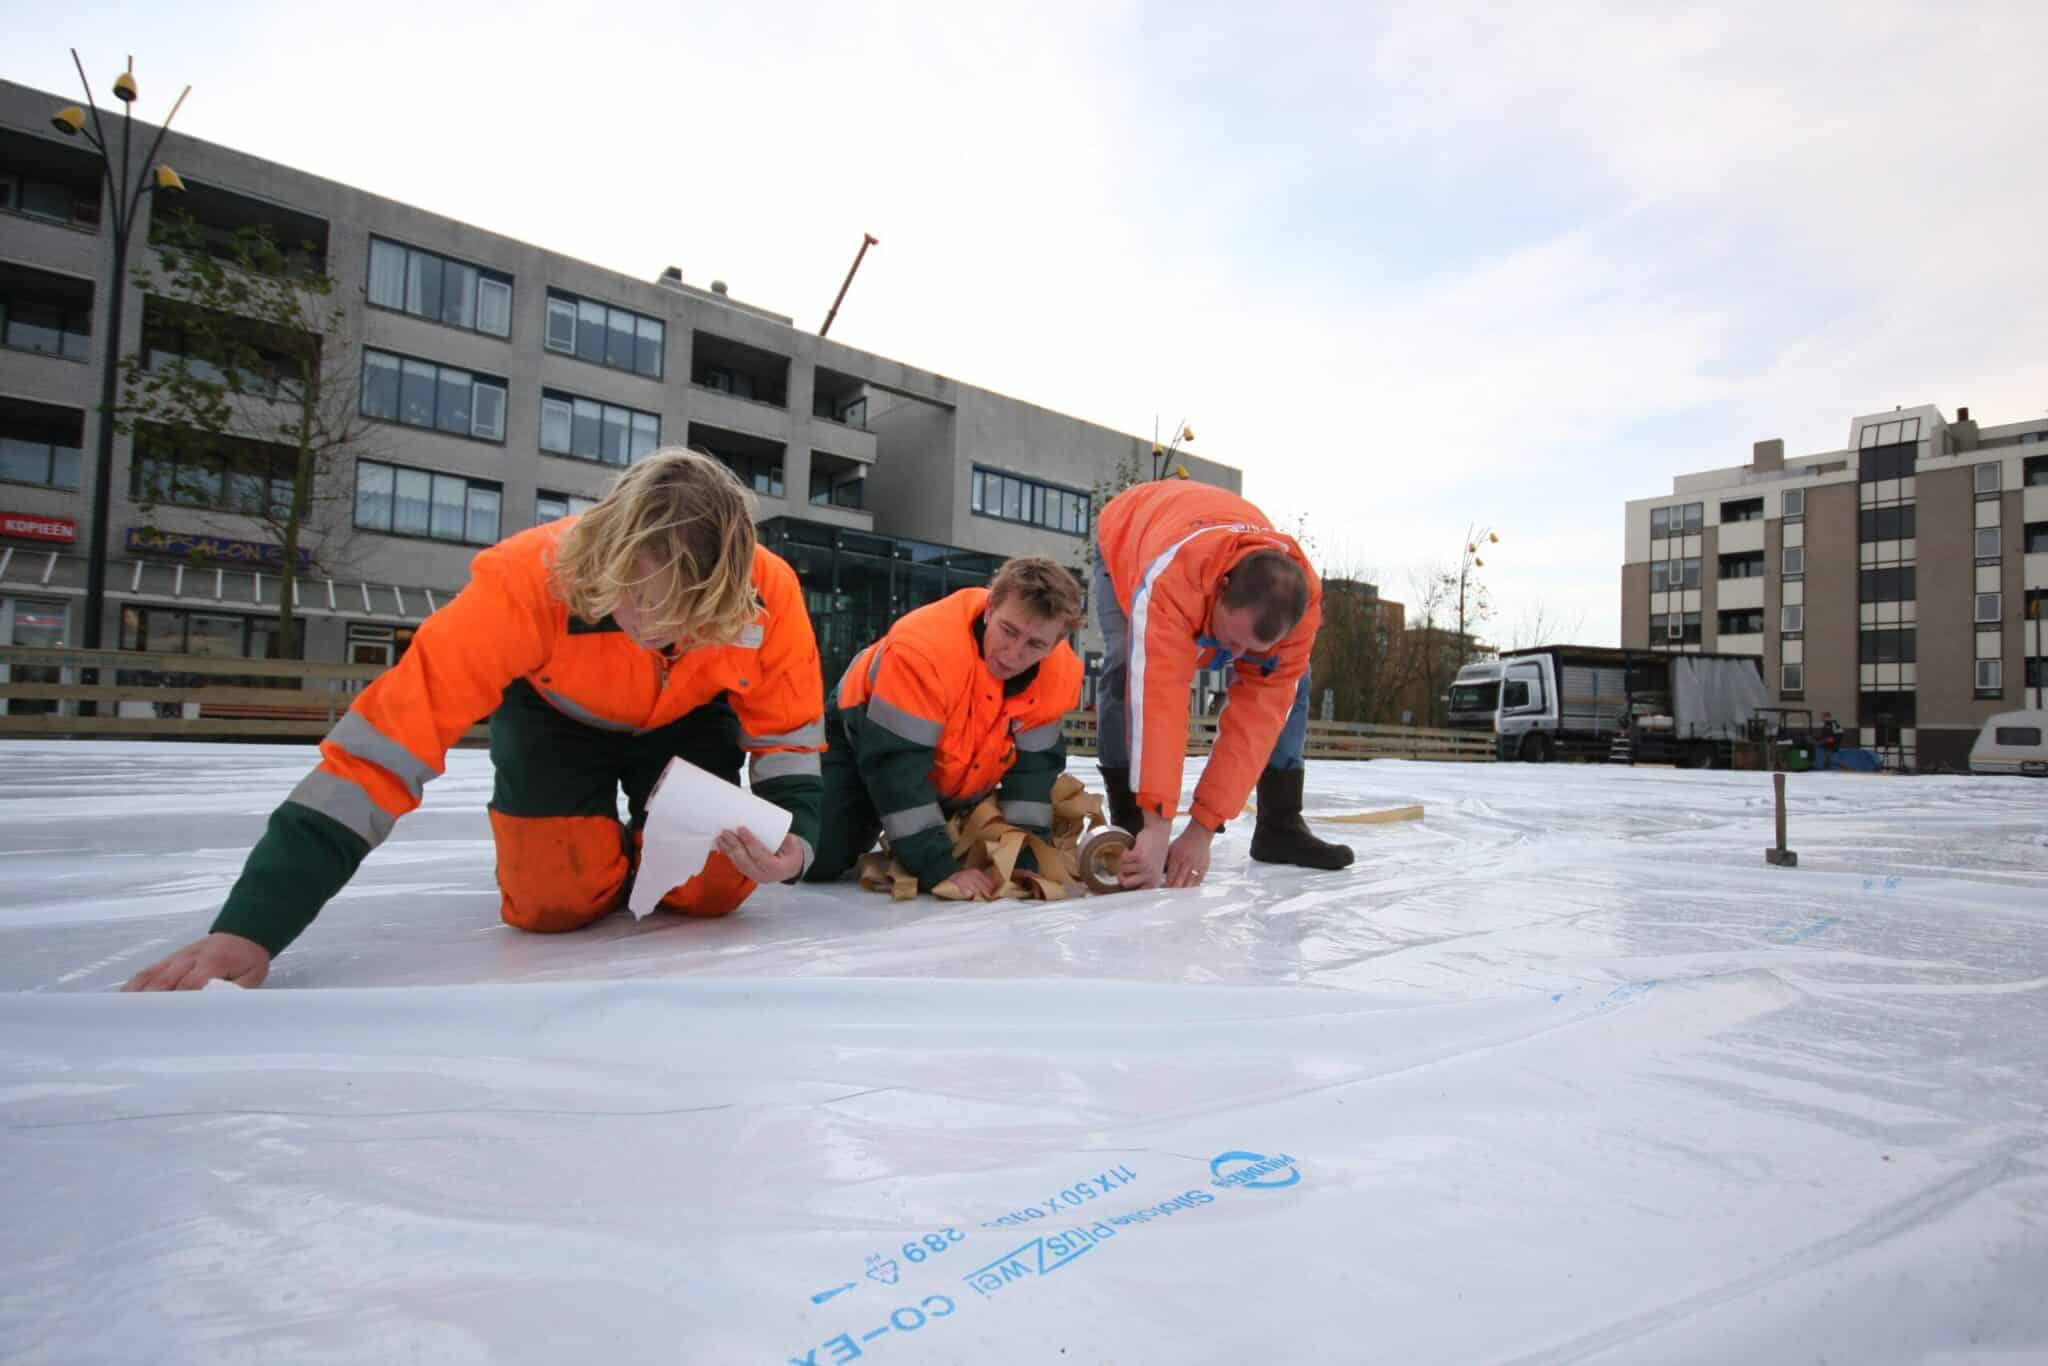
Step 2: Make it watertight
To make the surface watertight, plastic foil is rolled out over the entire surface and taped down where necessary. Next, a watertight reservoir is created using aluminium corner profiles. Just twenty hours later, this seven-centimetre deep reservoir will contain an ice rink ready to be skated on right away.
Step 3: Unfold and connect the elements
The water in an artificial ice rink is cooled by means of reverse floor heating. A cooling agent flows through a network of pipes causing the surrounding water to be cooled. These pipes are pre-assembled at our factory into patented ice rink elements one metre wide. They are available in various lengths.
Because these elements are pre-assembled, pressure-tested at 4 bar and checked for possible leaks, all that needs to be done is unfold them, lay them in the right place and connect them up to create a single system.
After the rink has been installed the system is connected to the cooling plant, which consists of a cooling system, a pump and a buffer tank. These components ensure that the cooling agent is cooled and circulated.
Step 4: Install the boards
The perimeter – also called boarding – is installed all around the ice rink and the various parts are connected to one another. The boarding is usually also screwed onto the wooden floor. When the water is frozen in the next steps, these wooden or plastic boarding parts will freeze solidly into the ice.
Step 5: Fill the rink with water
Step five is to fill the rink with water. Before the ice rink is filled with water, the cooling system must be tested. The cooling system is filled with mono-propylene glycol: a biodegradable cooling agent. The glycol is pumped into the ice rink and the cooling machine is switched on.
Step 6: Freeze
Step 6 is to freeze the water. Depending on factors such as wind and temperature, the cooling system will be set to its highest position for the next 12 to 24 hours. The ice will slowly begin to form, starting around the aluminium pipes, until all the water is frozen.
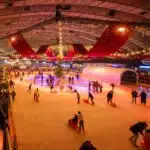
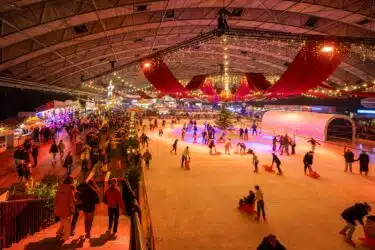
There you have it: this is how an empty square can be transformed into a full-scale ice rink within 24 hours and the ice-skating fun can finally start!
Do you want to know more about the technical aspects of our mobile ice rinks? Read the article: How does the Ice-World system work?.
Interested in renting or buying a mobile ice rink, or do you want to organize an ice event? We have over 25 years of experience in the rental and sale of ice rinks for recreation and sport. Feel free to contact us!
Interested in having your own ice rink? Get a free quote!
News and projects

Solar-Powered Temporary Ice Installation

Floating ice rink Dokkum
Ice Rink Amsterdams Winterparadijs
Ice Rink Olympic Festival Belgium

Wilbert Lek appointed CEO
